It cannot infer every hidden detail
A prompt usually describes the visible idea better than the unseen back, underside, or interior of an object.
Workaround
Mention important hidden features explicitly, then inspect the model from several angles.
Focused 3D creation
3d model ai is a focused starting point for turning a written idea into a usable three-dimensional concept. Describe the object, review the result, and refine the direction.

These related routes help you move from a focused concept to a broader generation or image-based workflow.
Know the edges
A useful result still needs review. This route is best for direction, prototypes, and concept assets rather than a promise of production-ready geometry.
A prompt usually describes the visible idea better than the unseen back, underside, or interior of an object.
Workaround
Mention important hidden features explicitly, then inspect the model from several angles.
Generated surfaces may contain uneven density, awkward joins, or geometry that needs cleanup before animation or manufacturing.
Workaround
Treat the first output as a starting mesh and retopologize or repair it in a 3D editor.
A natural-language description does not establish engineering tolerances, exact scale, or reliable part fit.
Workaround
Use measured dimensions and validate the final asset in a modeling or CAD workflow.
The system can follow cues such as low-poly, smooth, worn, or futuristic, but the final selection remains a creative decision.
Workaround
Generate variations with one controlled change at a time and keep the version that fits the brief.
Simple workflow
A strong first attempt comes from a specific subject, a few visual constraints, and a quick review loop.
Name the object, its purpose, its overall shape, and the viewpoint or style you want to emphasize.
Submit the description and use the first result to discover what the system understood and what needs clarification.
Adjust proportions, materials, silhouette, or distinctive features rather than rewriting every part of the prompt at once.
Entry point comparison
Both routes can help you explore 3D ideas, but a focused model workflow is easier to direct when you already know what you want to make.
Best starting input
Focused 3D model AI
A specific object description
General 3D generator
A broad request for a 3D result
Creative control
Focused 3D model AI
Clear control over subject and visual cues
General 3D generator
More room for open-ended exploration
Learning curve
Focused 3D model AI
Short prompt-first entry
General 3D generator
May require comparing more options
Ideal output stage
Focused 3D model AI
Concepts, prototypes, and starting meshes
General 3D generator
A wider range of experimental outputs
Reference handling
Focused 3D model AI
Works best when the written brief is clear
General 3D generator
May support multiple creation directions
Refinement approach
Focused 3D model AI
Iterate on one model direction
General 3D generator
Try different generation modes or styles
Production readiness
Focused 3D model AI
Requires inspection and cleanup
General 3D generator
Also requires inspection and cleanup
Visual progression
The value of a focused workflow is the transition from an abstract brief to something you can inspect, discuss, and refine.
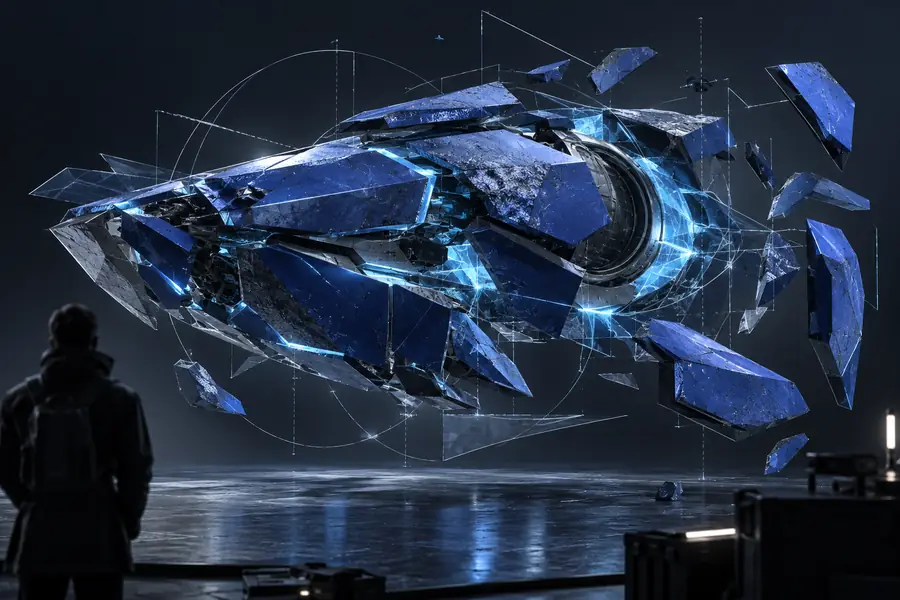 Brief
Brief
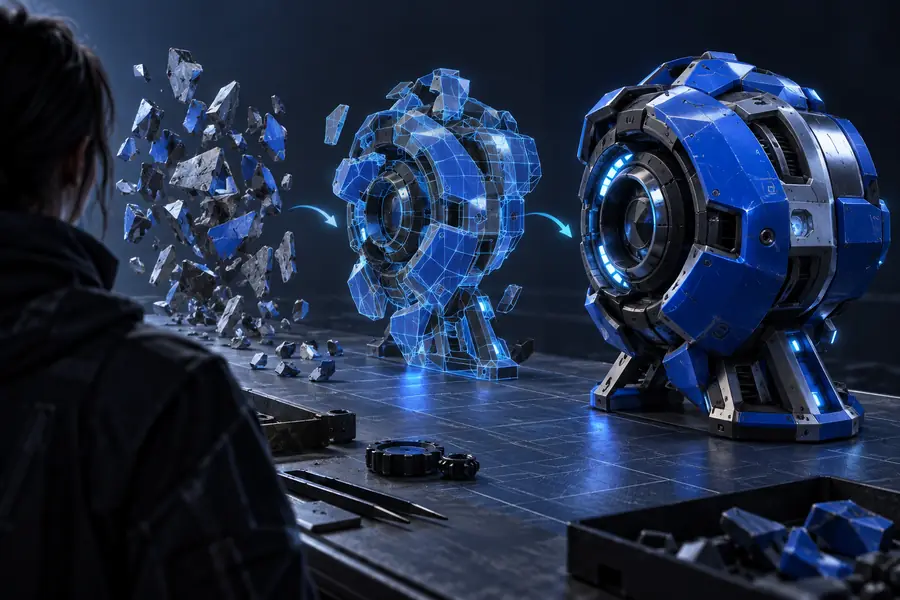 Refined concept
Workflow snapshot
Keep the process focused by checking the brief, the shape, and the next use of the asset.
Useful starting points
Different creators can use the same prompt-first process for different kinds of early-stage 3D work.
You need several object directions before choosing a visual path for a scene or character.
Generate a concrete form to paint over, reference, or discuss with a team.
free 3d model ai generatorYou want a quick prop concept without stopping to build every shape from scratch.
Create a rough asset direction that can guide later modeling and optimization.
free 3d generatorYou are testing the silhouette of a product idea before investing in detailed CAD work.
Explore proportions and presentation language early, while keeping exact engineering separate.
image to 3d generatorYou want to understand how a written description becomes a spatial object.
Learn through quick iterations before moving into a full manual modeling workflow.
text to 3d model freeWrite the object, add the details that matter most, and use the first result to guide your next decision. Keep the workflow focused and refine only what changes the result.
Generate a 3D modelCommon questions
It is used to turn a written description or creative brief into a three-dimensional model concept. Common uses include early design exploration, game props, visual references, and prototype assets that can be refined later.
It can attempt a wide range of objects, but the result depends on how clearly the subject and its important features are described. Unusual, hidden, or highly technical details may need several iterations and manual correction.
Not automatically. Inspect the mesh, scale, topology, materials, and intended use before treating it as production-ready, especially for animation, games, or physical manufacturing.
Start with the object and its purpose, then add shape, materials, distinctive features, and a preferred style or viewpoint. Keep the first prompt focused so you can tell which change improved or weakened the result.
Identify the single most important problem, such as proportions, silhouette, or material, and revise that part directly. A short sequence of controlled changes is usually easier to evaluate than a completely new description each time.