Concept artists
You have a creature, prop, or environment idea captured in a sketch or reference photo.
Get a tangible blockout that helps you test proportions and communicate the idea faster.
image to 3d generatorImage conversion
Modelai3d helps you turn a reference image into a useful 3D starting point without a complicated setup. Upload a clear view, describe what matters, and review the generated shape before refining it.
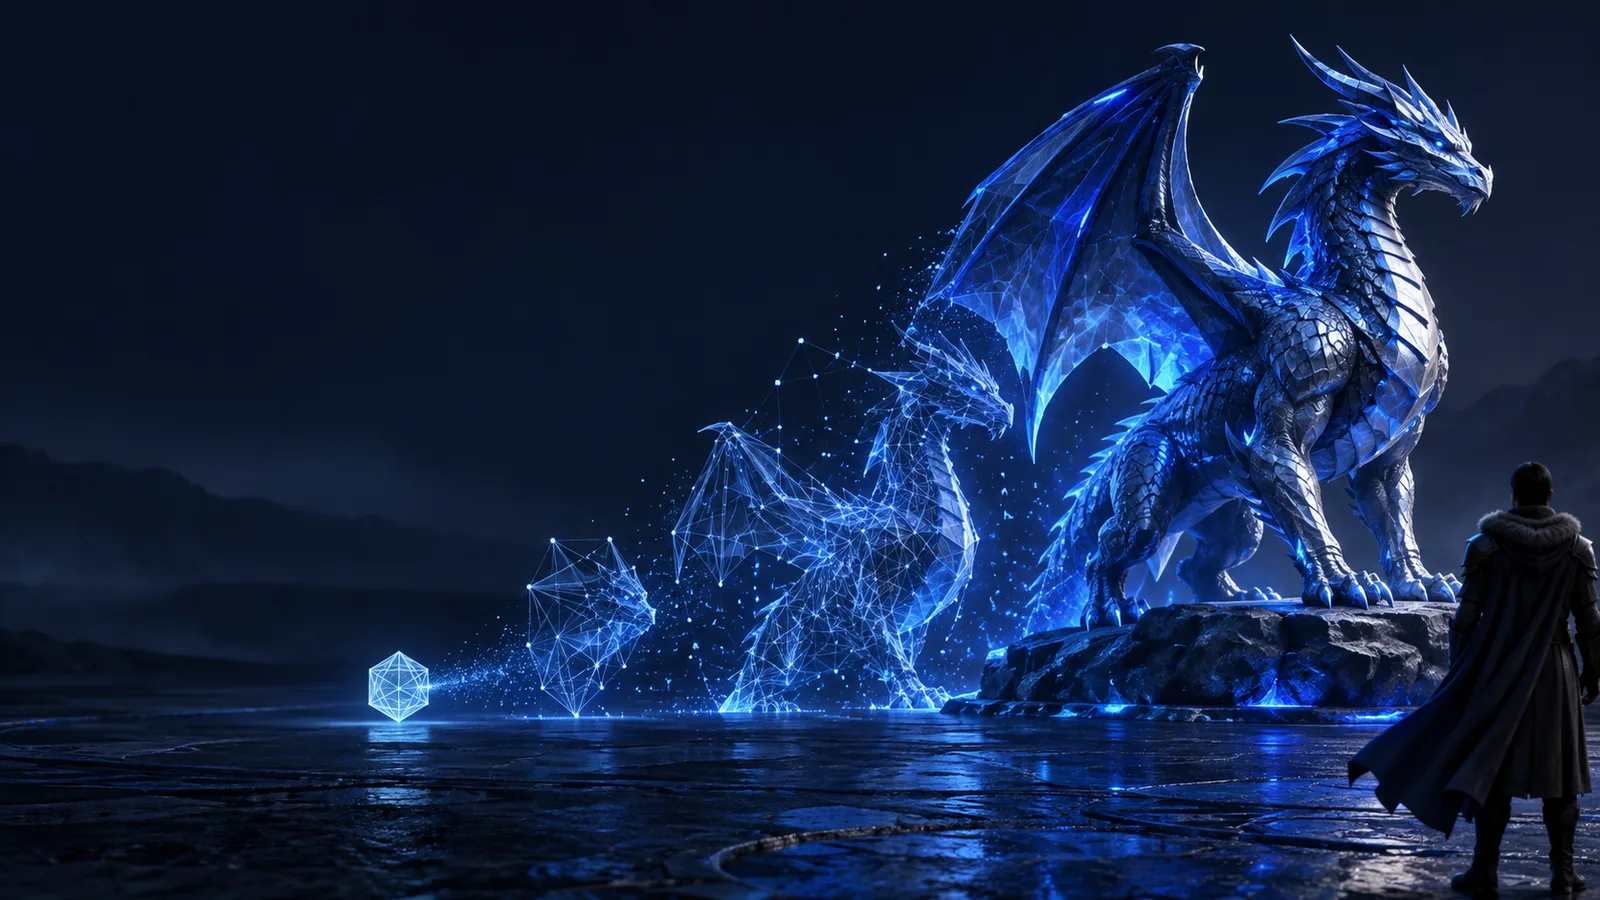
The conversion starts with visual clues rather than a finished production mesh. Use the result as a fast base for ideation, editing, presentation, or further modeling.
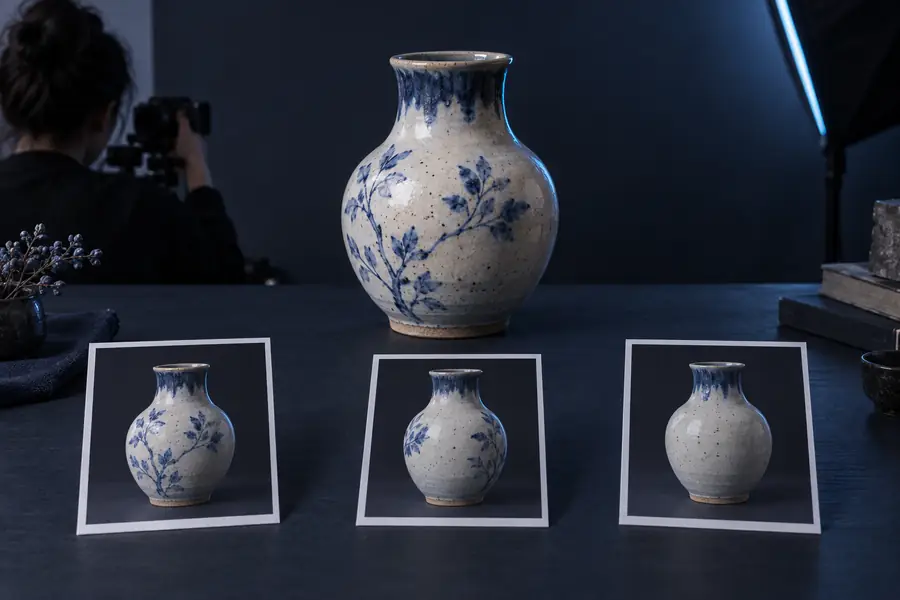
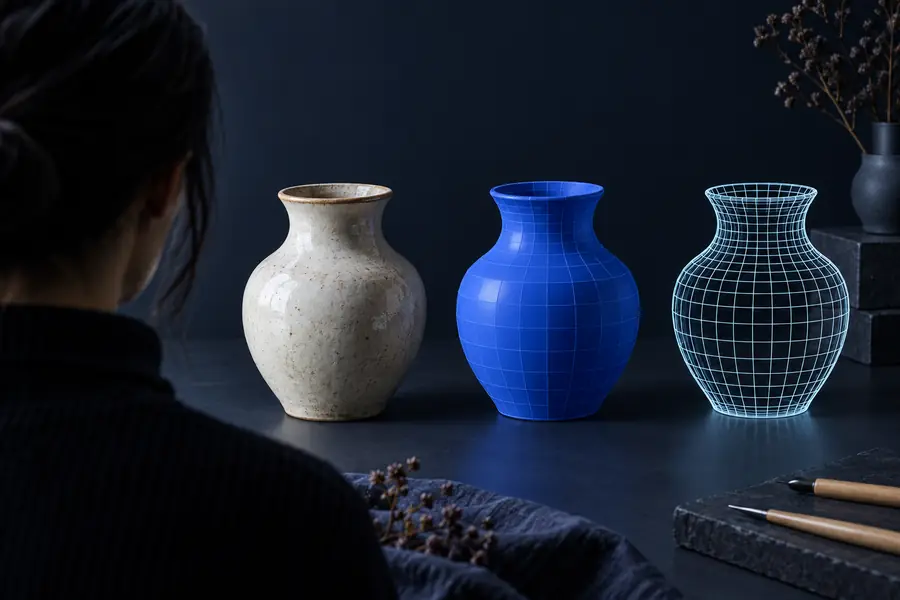 Reference
3D result
Reference
3D result
Drag the divider to compare the reference and generated form.
Reference3D resultDifferent creators need different levels of detail. Modelai3d is most useful when the image gives the system a clear subject, silhouette, and visual direction.
You have a creature, prop, or environment idea captured in a sketch or reference photo.
Get a tangible blockout that helps you test proportions and communicate the idea faster.
image to 3d generatorYou need a recognizable object to place in an early scene before investing in a final asset.
Create a rough asset for composition, scale checks, and visual prototyping.
text to 3d model freeA photo or drawing gives you the starting shape for a decorative object or simple figure.
Use the generated mesh as a draft, then check thickness, supports, and manifold geometry before printing.
image to 3d generatorA product reference needs to become a quick visual mockup for a review or pitch.
Explore form and presentation without waiting for a complete manual model.
text to 3d model freeKnowing what changes between A and B helps you judge the result realistically and choose the right next step.
Information source
Reference image
Pixels, edges, color, and visible surfaces
Generated 3D model
Inferred shape built from visual cues
View coverage
Reference image
Usually one angle or a limited set of angles
Generated 3D model
A rotatable object with unseen areas estimated
Geometry
Reference image
No mesh or physical depth
Generated 3D model
A mesh-like 3D structure for inspection and editing
Hidden details
Reference image
Not available unless shown in the image
Generated 3D model
May be approximated, simplified, or missing
Material appearance
Reference image
Lighting and texture are tied to the source image
Generated 3D model
Surface appearance is interpreted for the generated object
Production readiness
Reference image
Ready as a visual reference only
Generated 3D model
Useful as a draft, but still needs technical checks
Best use
Reference image
Communicating the intended subject and look
Generated 3D model
Blocking, iteration, staging, and downstream refinement
Choose a nearby route when your starting material or desired control is different.
A free image-based workflow is valuable for exploration, but it cannot replace every modeling or cleanup step.
The back, underside, and hidden construction may be guessed from context rather than captured accurately.
Workaround
Use multiple clear views when available, or treat the output as a blockout for manual correction.
Threads, hinges, thin walls, sharp tolerances, and small repeated features can be simplified.
Workaround
Rebuild critical parts in a CAD or mesh editor before fabrication or manufacturing.
Topology, scale, seams, normals, and watertightness are not guaranteed by a visual conversion.
Workaround
Inspect the model from every angle and run your normal repair, sizing, and export checks.
Reflections, shadows, occlusion, and background clutter can influence the inferred shape.
Workaround
Crop tightly, use even lighting, and describe the subject's important features in the prompt.
These examples show the kinds of subjects that work well as visual starting points. Compare the input idea with the intended use before you export or refine.
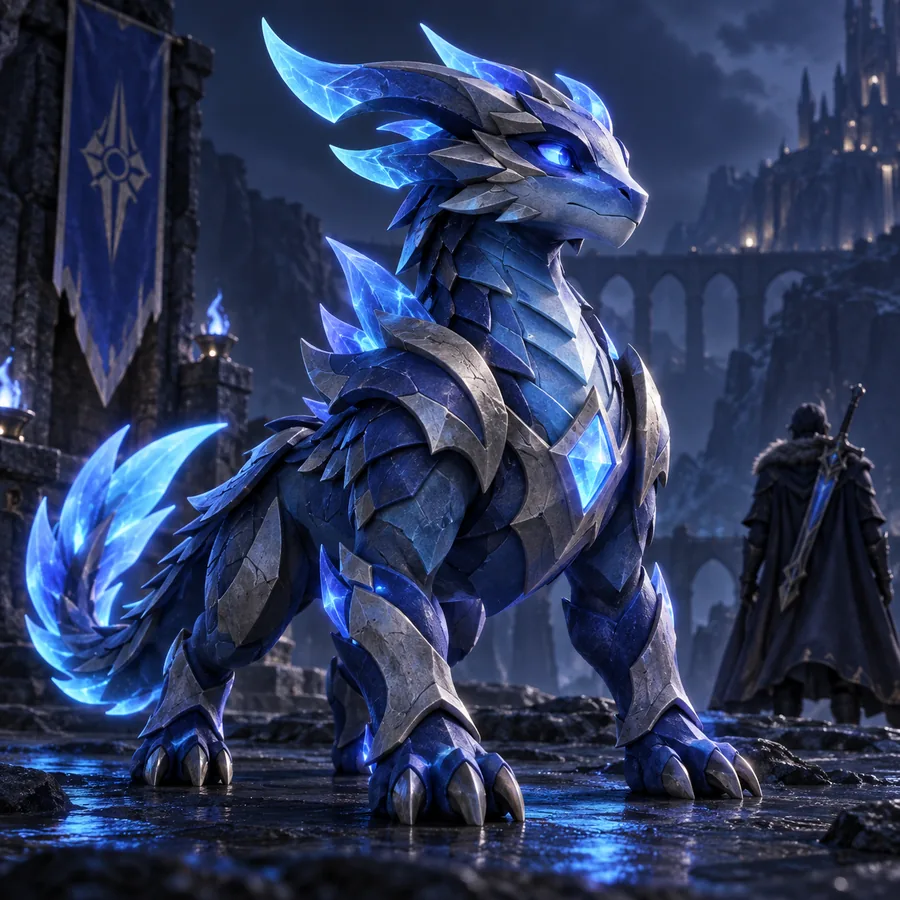 Character
 Prop
Prop
 Product
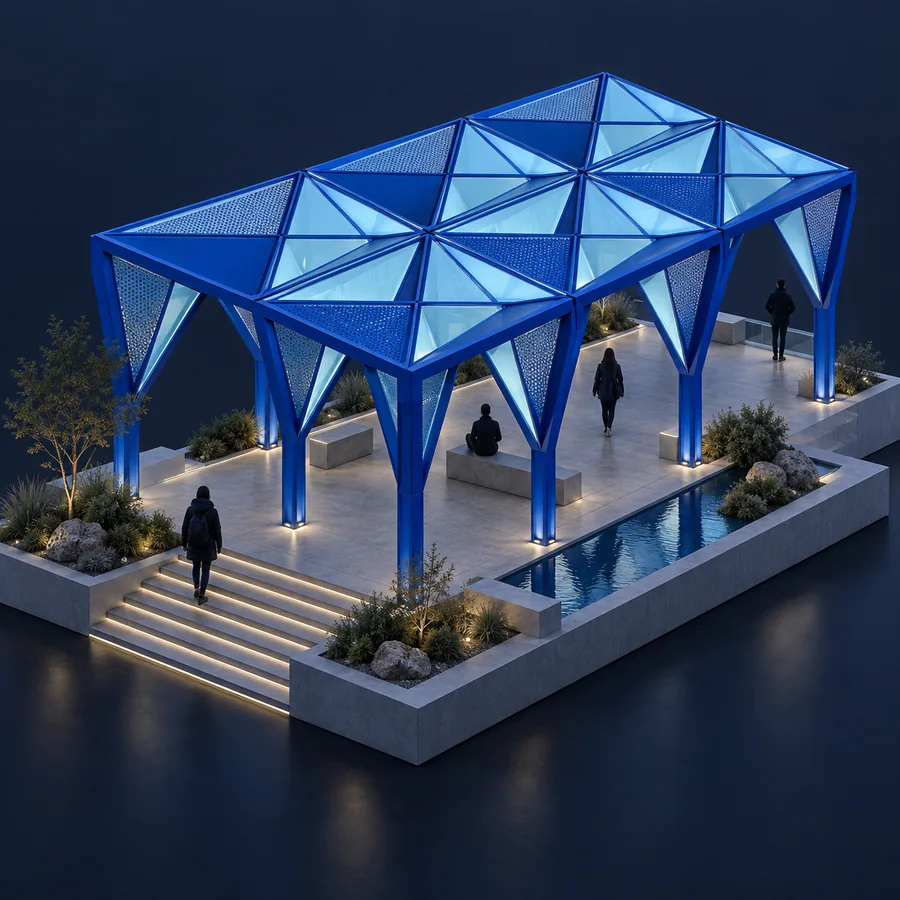 Object
Modelai3d gives you a practical way to move from a visual idea to a 3D draft. Start with a clean image, describe the subject's important traits, and use the result as the first pass rather than the final word.
Convert an imageIt describes a workflow that uses a reference image to create a 3D representation without an initial paid step. The result is usually best treated as a starting mesh or concept asset, not a guaranteed production-ready model.
Use a sharp image with one main subject, visible edges, even lighting, and minimal background clutter. A clear silhouette and recognizable proportions give the conversion more useful information than a busy or heavily occluded photo.
Not from a single image in every case. Hidden surfaces and precise dimensions must be inferred, so accuracy depends on the subject, reference quality, and how much refinement you do afterward.
You can use it as a starting point for a print, but inspect it first. Check wall thickness, scale, supports, normals, disconnected parts, and whether the mesh is watertight before sending it to a slicer.
Crop the reference tightly, remove distracting backgrounds, and describe the object's shape, materials, and important features. If the first result misses a detail, simplify the request and iterate rather than adding many conflicting instructions.