Beginner tutorial
A Practical Guide to How to 3D Model for Beginners
How to 3d model for beginners becomes much easier when you choose one clear workflow, keep the first object simple, and check the result before refining it. Modelai3d gives you a low-friction way to begin with a written description.

Decide which case you are
6 min read
Before opening a modeling tool, identify the kind of result you need. The right starting path depends on whether you are exploring an idea, matching a reference, or building precise geometry.
See the difference a final check makes
A rough first pass can communicate the idea, but a short inspection improves silhouette, openings, balance, and visible surfaces before you use the model elsewhere.
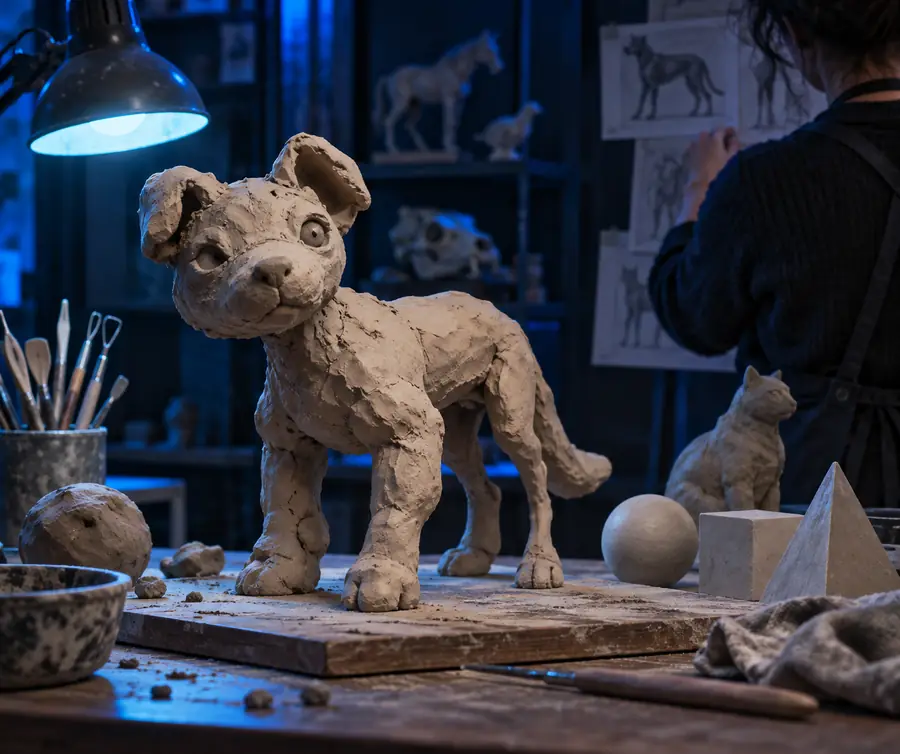
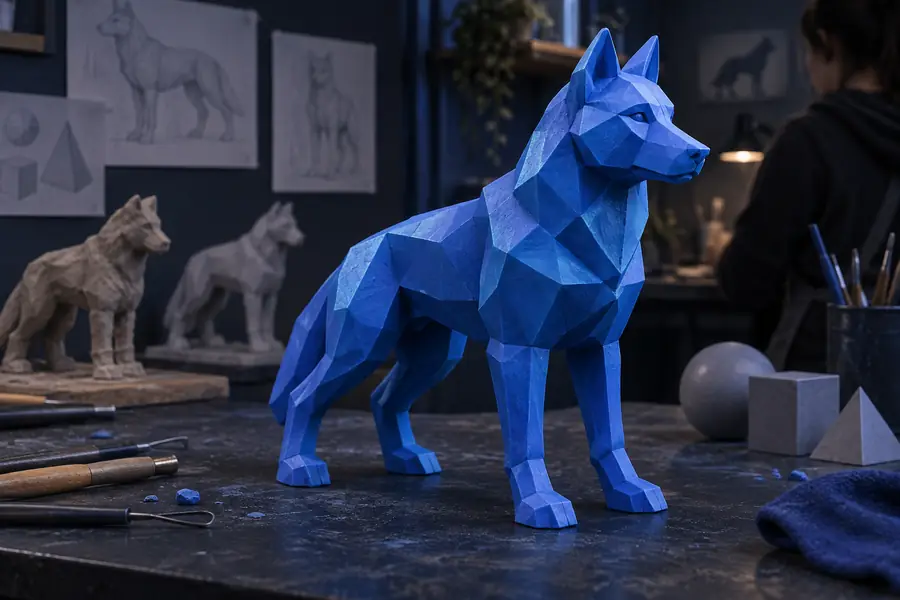 First pass
Checked result
First pass
Checked result
Drag the divider to compare the two stages.
First passChecked resultPath A
Use this path when your goal is to learn the basic shape-building loop without getting stuck in technical detail.
-
1
Choose one simple object
Start with a mug, toy robot, lamp, planter, or another object whose main form can be described in one sentence. Avoid characters, vehicles, and detailed mechanisms on your first attempt.
-
2
Describe the main form
State the silhouette, proportions, materials, and a few defining details. Modelai3d can turn a focused description into a starting point that you can inspect and revise.
-
3
Inspect and refine
Look at the object from several angles. Fix the largest issue first, then adjust secondary details instead of trying to perfect everything at once.
Path A requirements
You do not need a specialist workstation or advanced software knowledge to begin. Prepare only the essentials below.
You must have
Without every one of these the route does not run.
-
A clear object idea that can be described in one sentence
Keep the first subject small and visually distinct.
-
A browser and a stable internet connection
-
A way to inspect the model from multiple angles
A turntable view is enough for a first review.
Nice to have
Skip any of these and the route still works — they only make it faster.
-
One or more reference images if you need a specific look
Use well-lit views with the subject clearly visible.
-
A target use such as concept art, drawing reference, or printing
The intended use affects how much cleanup is needed.
Path A resources
Choose the next guide according to what you want to do after the first model is ready.
Path B
Use the path that matches your audience and intended output. Beginners make faster progress when the goal is defined before the model is polished.
For concept exploration
Describe the object, its mood, and its most recognizable features. Prioritize a readable silhouette over tiny surface details, then make several focused variations.
For drawing and visual study
Build a model that is easy to rotate and read from useful angles. A simple, accurate outline is often more valuable than dense geometry when the model supports drawing.
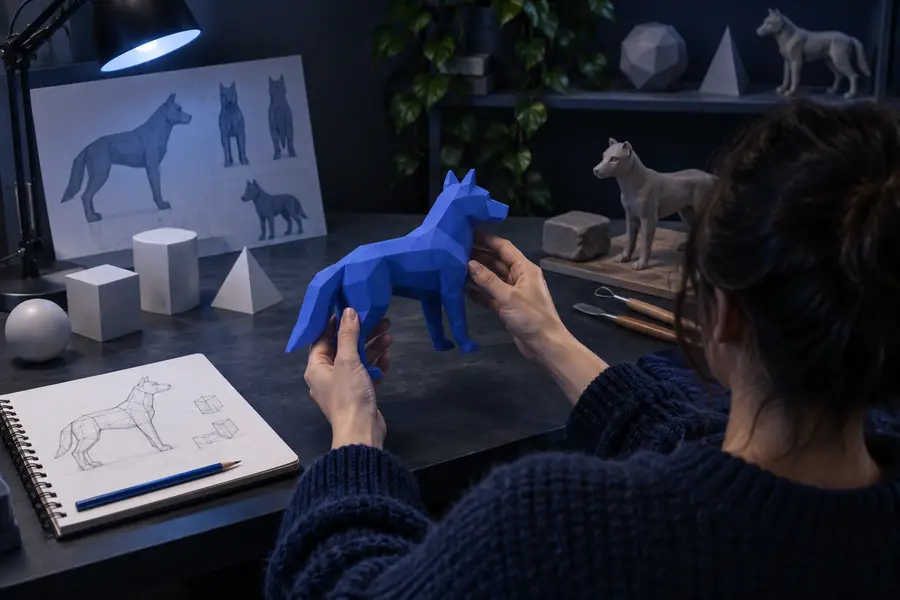
For a usable finished object
Plan for the next step before refining. A model for a scene, presentation, or print may need different levels of thickness, watertightness, scale, and surface cleanup.