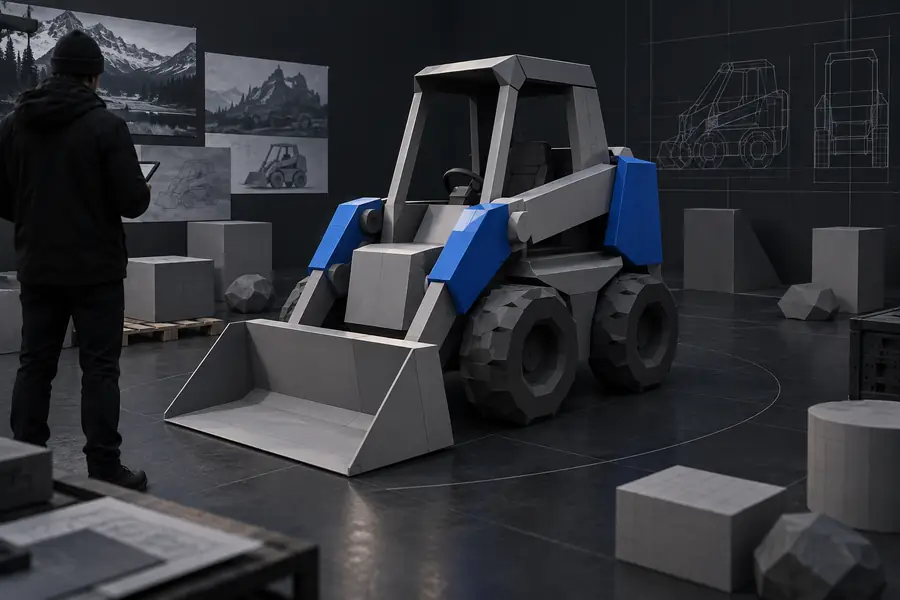
modelai3d gives you a focused route from a short description to a downloadable 3D starting point. Use the prompt box when you want to test an idea without setting up a full modeling workflow.
The 3 things only this entry point does
This route keeps the first decision simple: describe the object, inspect the result, and decide whether it is worth refining. modelai3d is designed for low-friction exploration rather than a long software setup.
Concept designers
You need a visible shape before committing to a detailed brief or production model.
modelai3d helps you test form, scale, and style quickly, while [3d modeling online free ai](/3d-modeling-online-free-ai/) offers a broader automated workflow when you need more AI assistance.
You want a prop or environment placeholder for a scene, pitch, or blockout.
Start with modelai3d for a fast visual anchor, then compare it with [free 3d model ai generator](/free-3d-model-ai-generator/) when the asset needs more generative control.
You want to understand the shape of a model before learning every tool in a full 3D package.
modelai3d gives you a concrete result to study, while [how to 3d model for beginners](/how-to-3d-model-for-beginners/) explains the longer manual path.
You need a rough object for a presentation, moodboard, or early product conversation.
Use modelai3d to create a visual conversation starter, then move to [image to 3d model free](/image-to-3d-model-free/) when a reference image is the better input.
The modelai3d workflow is intentionally short. A useful prompt, a quick review, and one sensible revision are usually enough to decide what to do next.
1
Describe one object
Name the object, its overall form, important parts, material direction, and intended mood. Specific nouns help modelai3d produce a clearer first pass.
2
Review the first result
Check the silhouette, proportions, visible details, and whether the output matches the purpose you had in mind. Treat the first model as a visual draft.
3
Refine or export
Adjust the description if the shape is wrong, or keep the result as a concept reference and continue your detailed work in the toolchain that fits your project.
Related routes for the next step
Choose the route that matches your input and desired level of control. Each modelai3d path starts with a different kind of creative friction.
The distinction is practical: modelai3d is a quick starting surface, while a general 3D workflow gives you more control but asks for more preparation.
modelai3d entry point
General 3D workflow
First action
modelai3d entry point
Write a short object description
General 3D workflow
Open a modeling tool and set up a scene
Setup burden
modelai3d entry point
Low; begin from the prompt surface
General 3D workflow
Higher; learn tools, views, and project settings
Best use
modelai3d entry point
Concepts, placeholders, and visual exploration
General 3D workflow
Detailed assets and controlled production work
Shape control
modelai3d entry point
Prompt-led and interpretive
General 3D workflow
Direct vertex, edge, and surface control
Iteration style
modelai3d entry point
Revise the description and compare results
General 3D workflow
Edit geometry, modifiers, materials, and topology
Learning curve
modelai3d entry point
Accessible for a first visual result
General 3D workflow
Steeper, with more skills to build
Production readiness
modelai3d entry point
A useful starting point that may need cleanup
General 3D workflow
Better suited to deliberate finalization
Time to first idea
modelai3d entry point
Short path from concept to visible form
General 3D workflow
Depends on experience and scene setup
From rough idea to usable starting point
The visual difference is not just polish. It is the shift from an unstructured concept to an object you can inspect, discuss, and decide whether to refine.
Before: vague starting point
After: modelai3d concept
Use the first result as a decision tool, not a promise of final production geometry.
Limits
A frictionless entry point is useful because it is focused. These are the boundaries to understand before you treat modelai3d output as a finished asset.
It cannot replace detailed modeling control
Prompt-led output does not give you the same direct control as editing every face, edge, modifier, or construction step.
Workaround
Use the result as a blockout, then refine geometry in a dedicated 3D application.
It may need topology cleanup
The shape can communicate an idea while still needing work for deformation, animation, subdivision, or reliable manufacturing.
Workaround
Inspect the mesh before production and rebuild critical areas where clean topology matters.
It is not a guarantee of exact dimensions
A descriptive prompt can suggest proportions, but it should not be treated as a measured engineering specification.
Workaround
Set dimensions and validate tolerances manually for technical, architectural, or print-focused work.
One prompt may not capture every detail
Complex mechanisms, hidden surfaces, and precise material behavior can be difficult to express in a single request.
Workaround
Break the idea into smaller parts, iterate with modelai3d, and document the details separately.
Make the first model decision easier
Start with modelai3d when you need a clear visual answer before investing time in a full workflow. Describe one object, inspect the result, and use what you learn to choose the right next tool.
Useful for concepts, placeholders, and visual briefs
A practical starting point for beginners and experienced creators
FAQ
These answers cover the common questions behind choosing a low-friction modelai3d starting point.
Begin with one object and describe its main shape, parts, material direction, and intended style. modelai3d works best when the first request has a clear subject instead of several unrelated objects.
Yes. It lets beginners see a 3D result before learning the full vocabulary of modeling software. The result is best treated as a starting point for study, discussion, or later refinement.
It can provide a useful model starting point, but production readiness depends on the project. Check topology, dimensions, materials, and file requirements before using any result in animation, manufacturing, or a final game build.
State what the object is, its overall silhouette, the most important features, and the visual direction. Adding a use case such as game prop, product concept, or reference model helps modelai3d prioritize the details that matter.