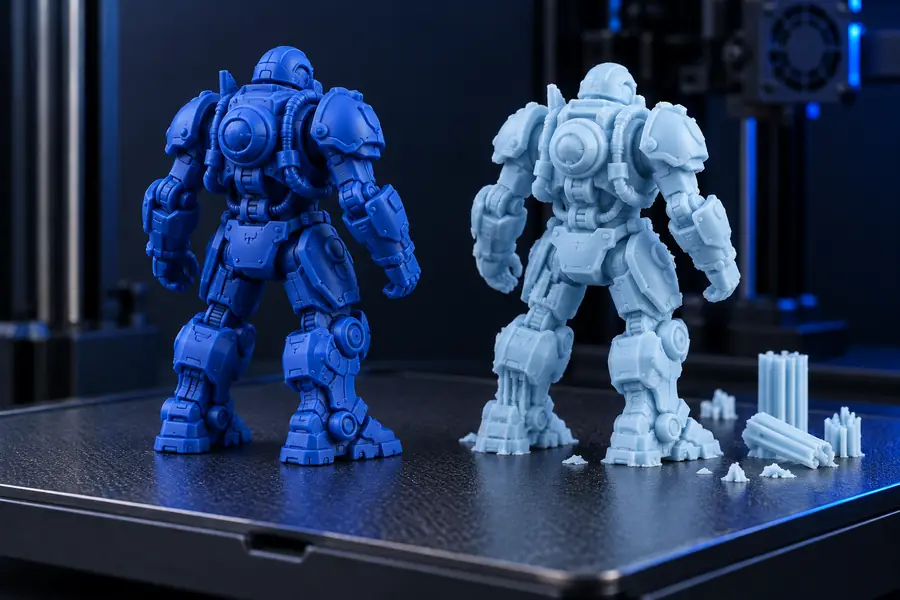
modelai3d

Print-ready ideas

Turn prompts into 3d models for printing

3d models for printing need more than a recognizable shape: they need sensible proportions, stable surfaces, and details that can survive a real fabrication workflow. Describe the object you want, then use the result as a focused starting point for refinement.

Free to start · no signup
A generated 3D object presented as a polished digital model

Start with intent

The scenario's pain: a model can look right and print wrong

A smooth render can hide thin walls, unsupported overhangs, floating details, or a base that will not sit level. The best prompt sets physical constraints early, so the first concept is easier to inspect and adapt.

prompts.log
  1. 1
    A charming small brick building with a pitched roof, simple windows, a solid rectangular base, and clean low-poly details
    Architectural concept Solid base · low-poly detail
  2. 2
    A compact futuristic utility truck with chunky wheels, a simple enclosed cabin, reinforced bumpers, and broad printable body panels
    Vehicle concept Rounded forms · stable stance
  3. 3
    A cute seated rabbit figurine with simplified ears, a wide flat base, smooth surfaces, and details large enough to print cleanly
    Figurine concept Flat base · simplified detail
Charming brick building 3D model 1 Buildings
Compact futuristic utility truck 3D model 2 Vehicles
Cute rabbit 3D model 3 Figures

Add the material, scale, wall thickness, base shape, and support limits that matter most to your printer.

Practical workflows

Three concrete workflows for printable models

Choose the workflow that matches the information you already have. Each one turns a different kind of input into a model concept that can be checked before fabrication.

The product sketcher

You have a rough idea for a holder, enclosure, bracket, or replacement part but no usable geometry.

Describe the object, its flat faces, openings, rounded edges, and intended use. The generated concept gives you proportions to critique before rebuilding precise dimensions.

text to 3d model free

The reference-led maker

You have a front, side, or product photo and need a starting shape for a prop, miniature, or display piece.

Supply the visual reference, then call out the viewing angle, hidden surfaces, base shape, and details that should remain simple for fabrication.

image to 3d model free

The beginner printer

You want a first printable object without spending hours learning every modeling command before testing an idea.

Start with a small object, request a broad base and forgiving geometry, inspect the result, and make one change at a time rather than asking for intricate detail immediately.

how to 3d model for beginners

The concept developer

You need several variations of a toy, ornament, prop, or functional accessory before choosing one direction.

Keep the purpose fixed while varying the silhouette, handles, openings, surface pattern, or stand. Comparing variants is faster than refining one uncertain concept blindly.

free 3d model ai generator

Output checklist

Example output: from concept to print-ready geometry

Use this comparison to separate a convincing visual concept from a model that is better prepared for slicing and physical testing. The generated result is a starting point, not a guarantee of manufacturability.

Visual concept
Print-focused revision

Primary goal

Visual concept

Communicate the object's overall form and intended use.

Print-focused revision

Balance recognizable form with fabrication constraints.

Base

Visual concept

May float, taper, or look attractive from one camera angle.

Print-focused revision

Uses a level, stable contact area suited to the build surface.

Small details

Visual concept

Fine ridges, seams, and decorations can be visually dense.

Print-focused revision

Details are enlarged, simplified, or removed when they would disappear.

Walls and handles

Visual concept

Thickness is often implied by the render.

Print-focused revision

Walls, rims, grips, and connectors are made visibly substantial.

Overhangs

Visual concept

The model may include dramatic unsupported angles.

Print-focused revision

Angles are reduced, supported, or redesigned for the intended process.

Openings

Visual concept

Holes and recesses may be shallow or blocked by hidden geometry.

Print-focused revision

Openings are clear, continuous, and easy to inspect in a slicer.

Surface finish

Visual concept

Smooth shading can make rough geometry appear complete.

Print-focused revision

Edges, normals, and transitions are checked at close range.

Iteration

Visual concept

One polished image can conceal unresolved construction issues.

Print-focused revision

Small test prints guide the next revision before full production.

Inspect before slicing

Compliance notes before you print

A generated mesh should be treated as a concept until it passes your own checks. Confirm that the geometry is closed, the scale is sensible, and the intended printer, material, and safety requirements are understood.
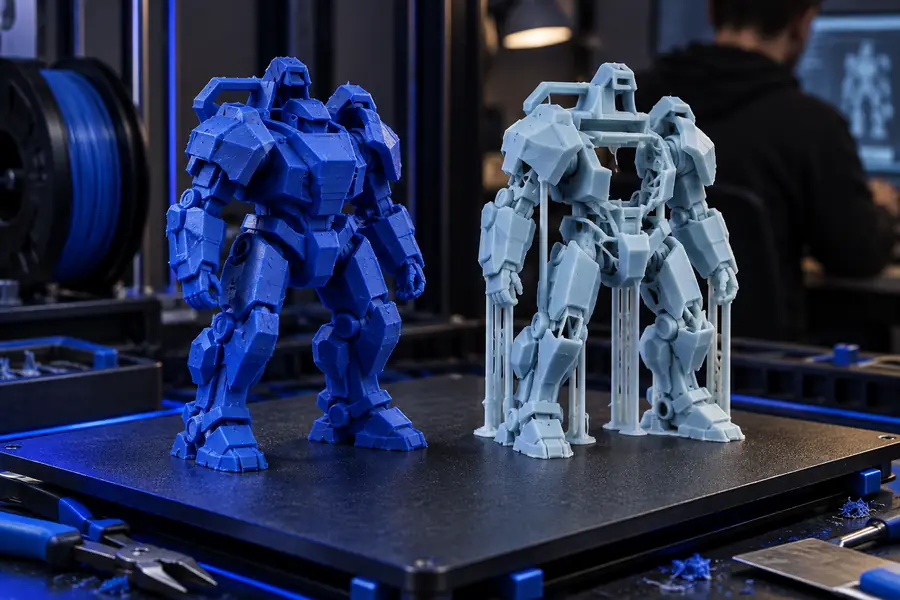
Early 3D printing model concept shown before refinement Concept geometry
Refined 3D model prepared for download and further checking Refined model
Check manifold surfaces, wall thickness, clearances, support needs, scale, and file settings in your slicer before committing material. For functional parts, verify fit and load requirements with a small test print. Avoid designs that reproduce protected characters, logos, or branded products unless you have permission, and follow your local rules for objects such as tools, toys, or safety equipment.

Make the first draft

Give your printable idea a workable shape

Describe the object, its purpose, and the constraints that matter most. Modelai3d can give you a visual starting point for comparison, refinement, and a more deliberate print-preparation process.

Generate a 3D model
  • Describe a real object or use case
  • Request stable bases and practical details
  • Review the geometry before slicing

Common questions

Printing FAQ

These answers address the practical concerns people usually have when exploring generated models for physical output.

You can use it as a starting point, but inspect and prepare the geometry before printing. Check scale, closed surfaces, wall thickness, unsupported areas, and fit in your slicer or modeling software.

State the object's purpose, approximate size, base shape, important openings, rounded or reinforced areas, and the level of detail your printer can reproduce. Mention material or process constraints when they affect the design.

Not necessarily. A generated model may look complete while still containing thin sections, hidden gaps, intersecting parts, or difficult overhangs, so a review and often a small test print are sensible.

Simple organizers, figurines, architectural studies, props, enclosures, holders, and other objects with clear shapes are useful starting points. Highly precise mechanical parts may need measured CAD construction and dedicated engineering checks.

Change one constraint at a time: widen the base, thicken the walls, simplify tiny details, reduce an overhang, or add clearance around moving parts. Generate or edit a revised version, then inspect it again before printing.

Start creating
Start creating