Concept artists
You need several shape directions before committing to a detailed sculpt.
Start with a text prompt, compare silhouettes, then take the strongest result into a modeling app.
image to 3d model freePrompt to model
Text to 3d model free workflows turn a written object description into a downloadable 3D starting point. Describe the shape, style, and intended use, then refine the result before importing it into your scene.

Compare the result
A prompt is useful when you need a fast, editable concept rather than a finished production asset. Compare a rough first pass with a cleaner generated model before you import it.

 Rough prompt pass
Refined model
Rough prompt pass
Refined model
Use the divider to inspect silhouette, proportions, and visible detail.
Rough prompt passRefined modelChoose your route
The right route depends on whether you are exploring an idea, starting from a reference, or preparing a model for a specific application.
You need several shape directions before committing to a detailed sculpt.
Start with a text prompt, compare silhouettes, then take the strongest result into a modeling app.
image to 3d model freeYou need props that match a visual brief without blocking level design.
Use descriptive prompts for rough assets, then clean topology and materials in your normal pipeline.
image to 3d generatorYou want quick form studies for lamps, furniture, packaging, or accessories.
Specify materials, proportions, and viewing angle to create a useful early-stage model.
image to 3d model freeYou want to learn how descriptions affect shape without starting from a blank viewport.
Change one prompt detail at a time and compare how the generated geometry responds.
image to 3d generatorPrompt examples
These examples show how material, proportions, lighting, and use context can make a prompt more useful than a short object name alone.
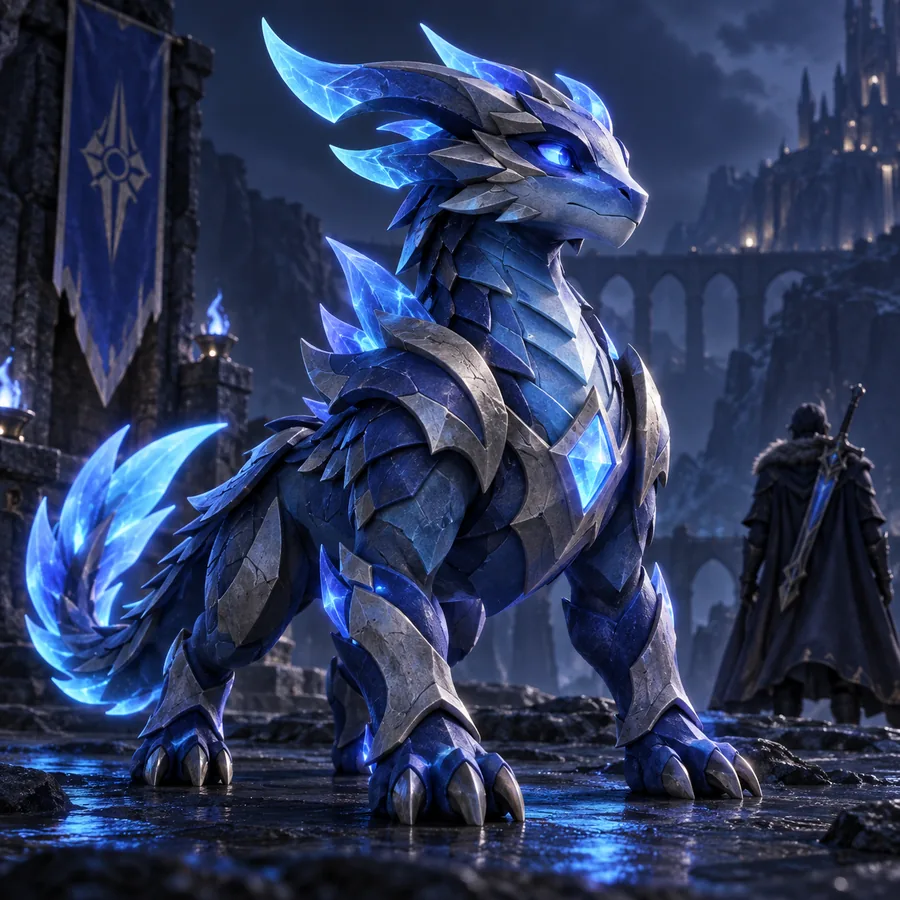
A friendly bright-blue furry 3D creature with oversized eyes, rounded paws, soft studio lighting, and a cheerful toy-like silhouette
A glowing futuristic table lamp inspired by a lotus flower, with layered translucent petals, a small weighted base, and a dark studio background
A compact futuristic utility truck with chunky wheels, a short cargo bed, matte graphite panels, blue headlights, and practical industrial proportions
 1
Character
1
Character
 2
Product
2
Product
 3
Vehicle
3
Vehicle
Adapt these prompts by changing one attribute at a time: silhouette, material, scale, use, or lighting.
Before you export
A generated mesh is a starting asset, so check its structure and intended use before moving it into a larger scene or production pipeline.
Primary input
Prompt draft
Written description of the object
Generated model
Procedural or AI-generated geometry
Shape control
Prompt draft
Exact words, proportions, and constraints
Generated model
Interpreted approximation of the description
Surface detail
Prompt draft
Material and finish described in language
Generated model
Visible texture or surface cues may be included
Topology
Prompt draft
Not specified by the prompt alone
Generated model
Requires inspection and possible cleanup
Editing stage
Prompt draft
Easy to revise before generation
Generated model
Edit in a 3D application after export
Best use
Prompt draft
Briefing and iteration
Generated model
Concepts, blockouts, and reference assets
Production readiness
Prompt draft
No geometry yet
Generated model
Depends on topology, scale, UVs, and materials
Set expectations
A free prompt workflow removes the blank-page problem, but it does not replace review, cleanup, or application-specific preparation.
A phrase such as “20 centimeters wide” can guide proportions without guaranteeing measurement accuracy.
Workaround
Verify scale in your 3D editor and resize against a known reference.
Thin parts, hidden intersections, uneven density, or difficult edge flow can appear in an otherwise convincing model.
Workaround
Retopologize, simplify, or rebuild critical areas before animation or manufacturing.
Handles, hinges, cables, and small attachments can become one fused shape instead of separate parts.
Workaround
Describe major parts separately or split and remodel them after import.
The visual finish may look right while texture paths, UVs, transparency, or roughness values need adjustment.
Workaround
Relink materials and test the asset under the lighting used in your final scene.
Output gallery
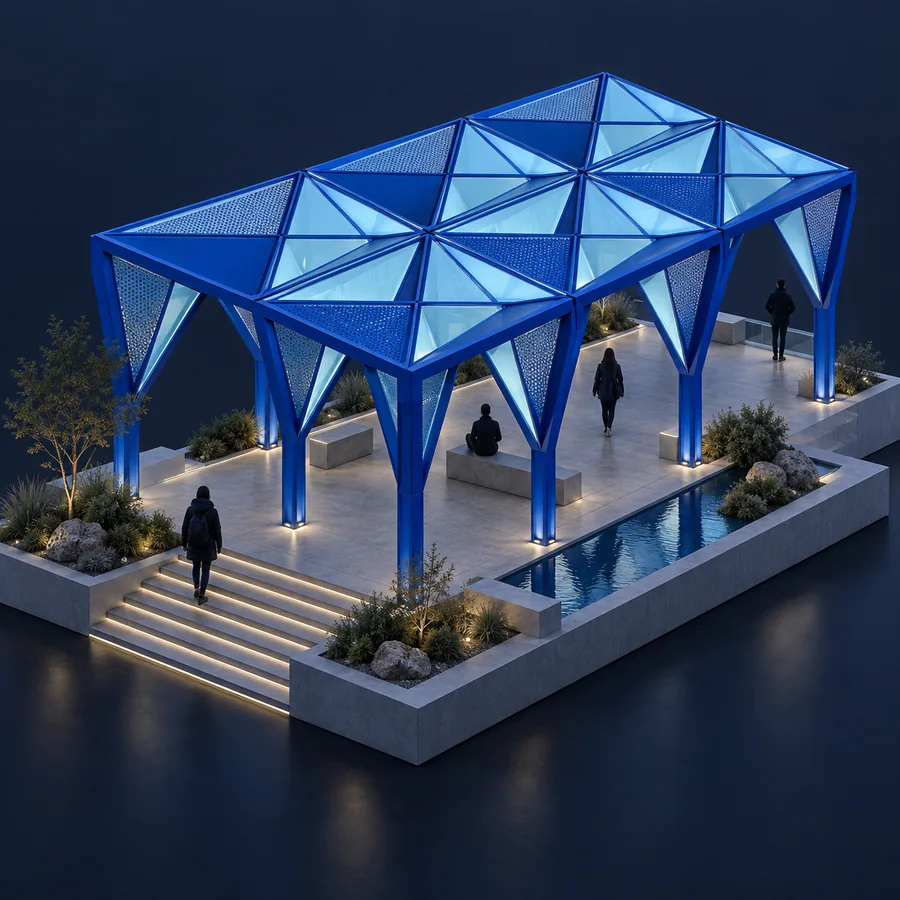
Use these outputs as visual references when writing your own object brief. Each caption identifies the prompt direction behind the result.
Organic
Glow
Vehicle
 Retro
Retro
Plan your prompt
Use the slider to estimate the working length of a brief before sending it. These are writing estimates, not generation guarantees.
characters
seconds
Make the first draft
Write the object, its main shape, material, proportions, and intended style in one focused brief. Generate a model, inspect the silhouette, and revise only the details that matter most to your next step.
Generate a 3D modelVariant FAQ
Yes, a browser-based workflow can turn a written object description into a model without requiring a local 3D package for the first generation. You may still want a desktop editor afterward for scale, topology, materials, or scene setup.
Name the object first, then add its silhouette, proportions, materials, important parts, and visual style. Details such as “separate handle,” “low-poly,” or “weighted base” give the model clearer priorities than vague adjectives alone.
Usually, the downloaded asset can be imported when it is provided in a format your editor supports. Check the file type, scale, mesh structure, materials, and texture references after import rather than assuming the model is production-ready.
Not reliably by itself. Text generation is better suited to concepts, blockouts, visual studies, and reference assets than parts requiring exact tolerances, certified dimensions, or manufacturing-ready geometry.