
modelai3d

Practical tutorial

how can i create a 3d model from idea to usable asset

how can i create a 3d model? Start with a simple reference, choose the right modeling route, build the main shape, refine the details, and check the final file before export.

Free to start · no signup
A finished 3D model created from a written concept

Numbered steps

A reliable 3D modeling workflow moves from broad decisions to small corrections. Do not add detail before the main shape and intended output are working.

  1. 1

    Define the object

    Choose one subject, collect one or two clear references, and write down the final use: illustration, animation, game asset, product preview, or 3D printing. This decision controls detail, scale, and file format.

  2. 2

    Build the main form

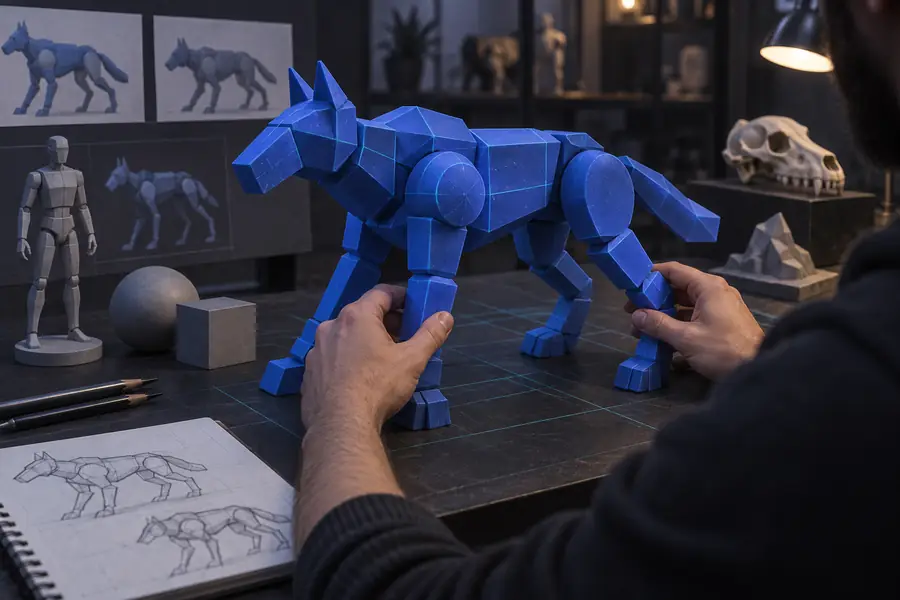
    Block out the largest volumes first. Use primitives, a generated base mesh, or a simple sculpt, then check the silhouette from several angles before adding seams, bevels, handles, facial features, or surface texture.

  3. 3

    Refine and export

    Clean visible geometry, assign materials, set a useful camera or view, and test the model in its destination software. Export only after checking scale, normals, naming, and the required file type.

Prerequisites

You do not need advanced software knowledge to begin, but a few decisions and references prevent wasted work later.

You must have

Without every one of these the route does not run.

  • A clear subject with a limited first version

    Start with one object rather than a full scene or character group.

  • At least one useful reference image or written description

    Show the silhouette, proportions, colors, or distinctive features you need.

  • A chosen destination for the model

    Decide whether it will be viewed, animated, placed in a game, or printed.

  • A modeling tool or AI-assisted workflow

    Use the tool that matches your deadline, control needs, and technical comfort.

Nice to have

Skip any of these and the route still works — they only make it faster.

  • Basic export requirements

    Know the preferred format, scale, texture handling, and polygon limits before polishing.

  • A simple inspection checklist

    Plan to check holes, flipped faces, floating parts, unreadable details, and file compatibility.

Common errors and fixes

When a model looks wrong, changing everything at once makes the cause hard to find. Isolate the problem and fix the earliest weak decision first.

The silhouette is unclear

The model may contain many details but still fail at thumbnail size because its largest shapes are too similar or poorly proportioned.

Workaround

Return to the blockout, hide small details, and compare the outline from front, side, and three-quarter views.
The mesh is too dense too soon

Adding subdivisions or sculpted detail before the proportions work makes every later adjustment slower and can create messy geometry.

Workaround

Save a low-detail version, adjust the primary volumes, and add density only where the final view needs it.

The export looks broken

Missing parts, dark faces, visible seams, or incorrect shading often come from flipped normals, unapplied transforms, unsupported materials, or a mismatched format.

Workaround

Inspect normals, apply scale, pack or relink textures, and open a test export in the actual destination application.

The result does not match the reference

A vague prompt or incomplete reference leaves important choices to the tool, so the output may have the wrong proportions, pose, or feature placement.

Workaround

Name the subject, shape, viewpoint, materials, and must-keep features separately, then regenerate or revise from a cleaner base.

Advanced tips

Once the basic workflow feels comfortable, choose a production route based on the amount of control and cleanup your result needs.

Use AI to accelerate the first pass

AI-assisted modeling is useful when you can describe the subject clearly and want a fast starting point. Treat the generated asset as a blockout: inspect proportions, remove unwanted parts, and refine the areas that matter to the final use.

Describe shape, viewpoint, materials, and must-keep features separately.
Generate a simple base before requesting intricate surface detail.
Check the mesh and textures in the destination tool before calling it finished.

Use Blender for direct control

Blender is a strong choice when you need precise edits, reusable modifiers, animation preparation, or a repeatable scene setup. Learn navigation, object transforms, edit mode, modifiers, materials, and basic export before tackling complex characters or environments.

Keep major forms on separate objects while exploring proportions.
Apply transforms before operations that depend on scale.
Name objects and save incremental versions as the model develops.

Use sculpting for organic forms

Sculpting works well for creatures, faces, rocks, fabric, and other forms that are easier to shape by eye than with rigid measurements. Begin with a low-resolution mass, establish the planes, and retopologize or simplify when the form is approved.

Use symmetry for the first pass unless the subject is intentionally asymmetrical.
Check the model under simple lighting so surface noise does not hide weak anatomy.
Reduce or rebuild dense areas before animation, games, or real-time use.
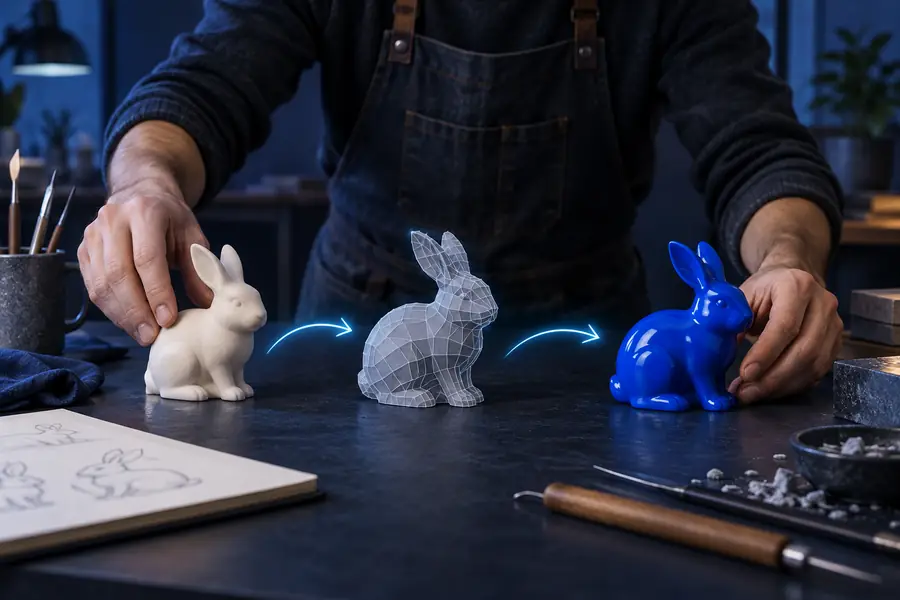
A rough early 3D model blockout A refined 3D model ready for use Blockout Refined result

Compare the broad blockout with the refined pass: the goal is clearer form, cleaner surfaces, and a file that suits its destination.

BlockoutRefined result

Turn your next idea into a 3D starting point

Describe the object, its shape, and the details that matter. Modelai3d can give you a useful starting asset so you can spend more time reviewing, refining, and preparing the result for its final use.

Create a 3D model
  • Begin with a written concept
  • Review the form before polishing
  • Export only after a final check

Tutorial FAQ

These answers cover the practical question behind the workflow: how to move from an idea to a usable 3D object without overcomplicating the first attempt.

Choose a subject, gather a reference, and select a route such as primitive modeling, sculpting, or AI-assisted generation. Build the largest forms first, refine only the details you need, then inspect scale, geometry, materials, and export compatibility.

Start with a simple object made from a few large shapes, such as a lamp, box, cup, or stylized creature. A prompt-based tool can also create a starting mesh, but you should still check the silhouette and remove details that do not support the intended use.

No. Blender is valuable when you need detailed control, animation preparation, or repeatable editing, but it is not required for every project. You can begin with a simpler modeling tool or an AI-assisted workflow and learn Blender as your control needs grow.

A simple blockout may take minutes, while a polished, textured, animation-ready asset can take many hours or longer. The time depends on the subject, required accuracy, amount of cleanup, and whether the model must meet technical limits for a game, print, or production pipeline.

Check the silhouette, scale, normals, open holes, disconnected parts, object names, materials, and texture links. Then export a test file in the format required by the destination application and inspect it there rather than trusting the source view alone.

Start creating
Start creating