Blender learning path
How to learn 3d modeling in blender without getting stuck
If you are wondering how to learn 3d modeling in blender, start with a small, repeatable workflow instead of trying to master every tool. This guide takes you from setup and navigation to modeling, checking, and improving a finished asset.
8 min read
Start with the symptom, not the software
When a Blender session feels overwhelming, name the visible problem first. The symptom tells you which skill to practice and keeps you from randomly collecting tutorials.
-
1
Describe the blockage
Write one sentence such as “my shape looks flat” or “I cannot select the right face.” Avoid solving several problems at once.
-
2
Choose one exercise
Pick a small object that exposes the missing skill: a mug for proportions, a crate for edge loops, or a lamp for modifiers.
-
3
Finish and review
Export or present the result, then record one thing that worked and one change for the next attempt.
Use this elimination order before changing your method
Most beginner frustration is caused by diagnosing the wrong layer. Check these requirements in order, from the simplest explanation to the most technical.
You must have
Without every one of these the route does not run.
-
Blender opens correctly and the current file is saved in a known location.
Save a numbered version before major edits.
-
You can orbit, pan, zoom, select, move, rotate, and scale without guessing the controls.
Spend ten minutes practicing navigation in an empty scene.
-
The reference image or object has a clear silhouette and a few measurable proportions.
Use front and side views when possible.
-
The base mesh has sensible topology for the intended shape and deformation.
Do not add detail before the primary form reads correctly.
Nice to have
Skip any of these and the route still works — they only make it faster.
-
Normals, smoothing, materials, and lights are checked after the geometry is stable.
Shading can hide or exaggerate modeling problems.
-
The final file is reviewed from the camera angle where it will be used.
A model can look good in solid view but fail in a render.
Turn each fix into a focused practice loop
The fastest way to improve is to pair each recurring problem with a short sequence of actions. Repeat the loop until the cause becomes familiar, then raise the difficulty slightly.
Fix control confusion first
If you cannot move confidently through the scene, modeling practice becomes a fight with the interface. Work in a blank file and repeat the same controls until your attention can return to the shape.
Build the large shapes before detail
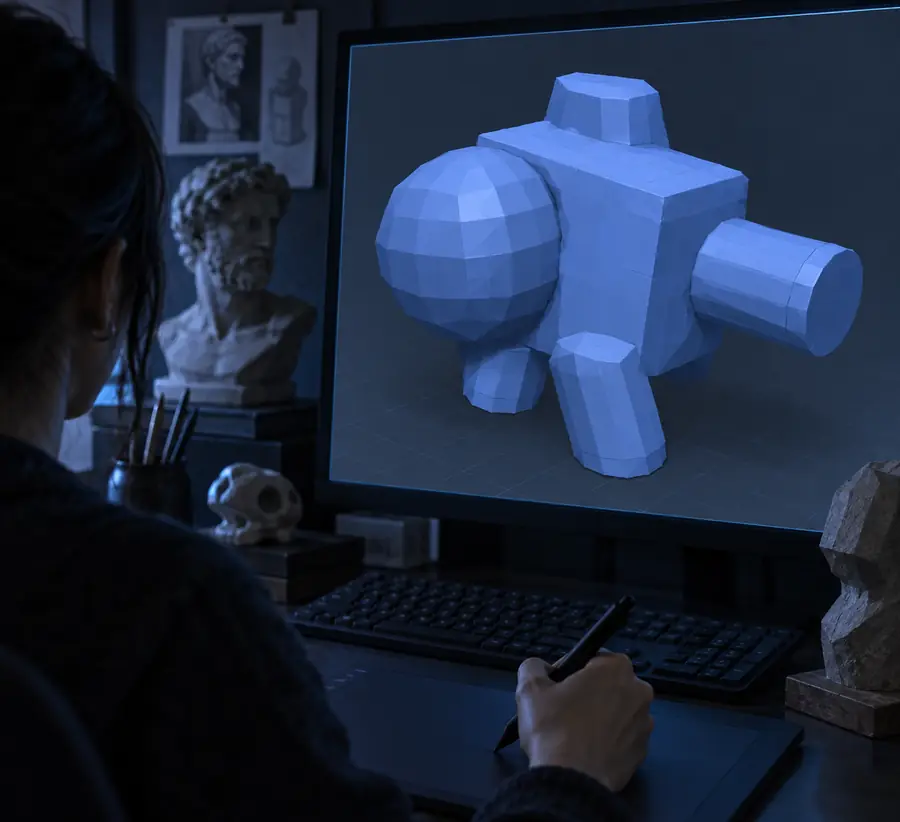
When a model looks wrong, return to its silhouette. Start with primitive objects, compare them to the reference from two or three views, and adjust proportions before adding bevels or decorative parts.
Add structure where the shape needs it
Topology is easier to learn when it has a purpose. Add loops for control, keep broad surfaces simple, and inspect the mesh after every major edit instead of waiting until the end.
Separate modeling from presentation
A useful model should survive a simple presentation check. Once geometry is ready, use basic materials and lighting to reveal errors rather than hiding them with effects.
-
Blender begins as an internal animation tool
The project started as an in-house tool for a Dutch animation studio, giving it a practical foundation in scenes, cameras, objects, and animation.
-
Blender becomes an independent product
The software was released commercially, expanding beyond one studio and developing a wider community of artists and technical users.
-
The source becomes open source
After a community fundraising effort, Blender was released under the GNU GPL, making its development and learning resources more accessible.
-
Cycles brings a new rendering workflow
The Cycles render engine helped learners connect modeling, materials, lighting, and final presentation in one familiar application.
-
Modern Blender supports a broader learning loop
Current releases combine modeling, sculpting, geometry nodes, animation, rendering, and compositing, so beginners can start small and expand without changing platforms.
 First blockout
Reviewed result
First blockout
Reviewed result
Compare the silhouette first; detail comes later.
First blockoutReviewed resultPrevent the same learning problems from returning
Build a Blender habit that compounds
A good Blender study plan is not a race through features. It is a small feedback system that makes the next attempt clearer than the last one.
Keep one reference folder, one practice file per exercise, and one short note after every session. The note should identify the symptom, the likely cause, and the next test. For example: “The handle looks too thick; compare side view; rebuild it with a thinner profile.” This turns vague frustration into an observable decision. Work in short sessions that end with a saved result, even if the result is unfinished. Once a week, revisit an older model and improve only one category: silhouette, topology, shading, or presentation. Do not change all four at once, because you will not know which adjustment helped. When a lesson introduces a new tool, immediately use it on a simple object from your own reference set. That transfer step is where passive watching becomes usable skill. If you want a wider overview of the process, the guide on how can i create a 3d model connects Blender practice with other production routes.
Try a 3D workflow- Save versions before major edits.
- Practice one modeling skill per session.
- Review older work once a week.
Tutorial FAQ
Begin with navigation, selection, transforms, and simple primitives before moving to modifiers or sculpting. Complete small objects such as a mug, crate, lamp, or chair, and review the silhouette before adding detail.
Basic navigation and primitive modeling can become comfortable within several focused sessions. More advanced skills such as clean topology, sculpting, animation-ready meshes, and efficient rendering take repeated projects over a longer period.
Blender has many tools, so the full application can feel difficult at first. It becomes more manageable when you learn one workflow at a time and use projects with a clear visual goal instead of trying to understand every feature immediately.
Choose a simple object with a recognizable silhouette and a few parts, such as a cup, crate, low-poly chair, or desk lamp. These projects teach proportion, extrusion, bevels, object organization, and basic shading without overwhelming detail.
Use tutorials to learn a technique, then repeat that technique on a different object without copying every step. A balanced routine combines guided lessons, independent exercises, and short reviews of what caused each mistake.